
Preview:
Deep Space Background Design.
Step 1:
Let’s start out by creating a new file. I used a 900×800 pixels canvas set at 72dpi, and I filled my background with #001622 color shade. On the tools window set the foreground color to #00131E color shade and background to black. Then duplicate the background layer and apply a Clouds effect through Filter > Render.
In a new layer draw a circle with #563B1A color shade and 160 x 160 px dimensions on the black spot.

Duplicated the clouded background layer and go to Filter > Noise > Add Noise, use the settings below. Then set the layer's blending mode to Lighten at 25% opacity level.
Result:

Step 3:
Now duplicate the background design layer with the noise effect and modify the opacity level to 62%. Then apply a wave effect through Filter > Distort.

Step 4:
Once again duplicate the background design with the noise effect and apply a Plastic Wrap effect through Filter > Artistic, use the settings below.
Result:
Step 5:
Now set the background layer's opacity level to Color Dodge from the last step.

Step 6:
Duplicate the clouded background layer from step one three times and place it on top of all the background layers on the layers window. Set all the layer's blending mode to Linear Dodge.
Step 7:
Add a marquee selection around your canvas and copy merged the selection through Edit. Then paste what you copied and sharpen it through Filter > Sharpen.
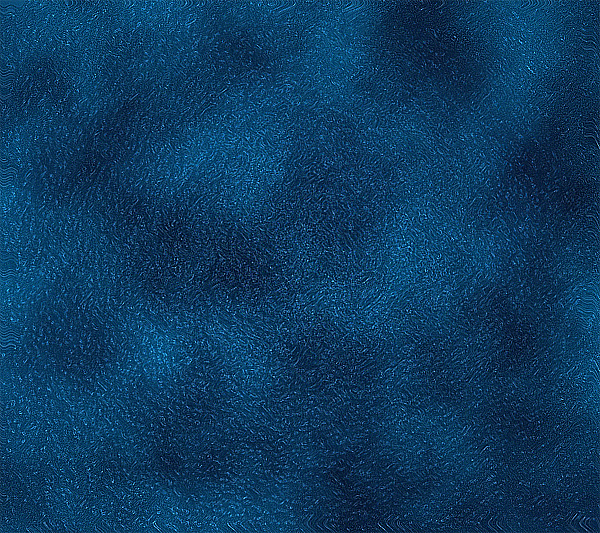
Results:
Deep Space Background Design.