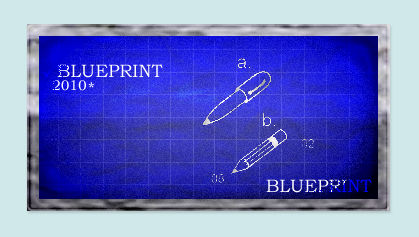
Preview:
Blueprint Sheet Design.

Step 1:
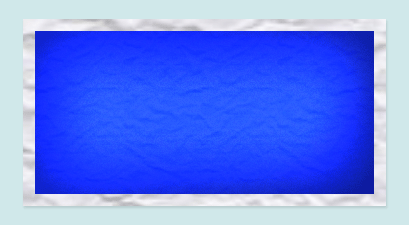
Let’s start out by creating a new file. I used a 600×500 pixels canvas set at 72dpi, and I filled my background with #D0E8EA color shade. Now make a new layer then draw a large blue rectangle with #1426CF color shade and 363 x 187 px dimensions.
Step 2:
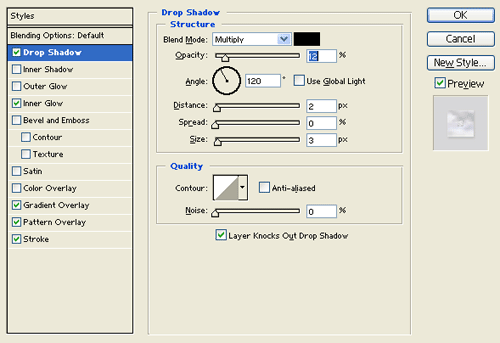
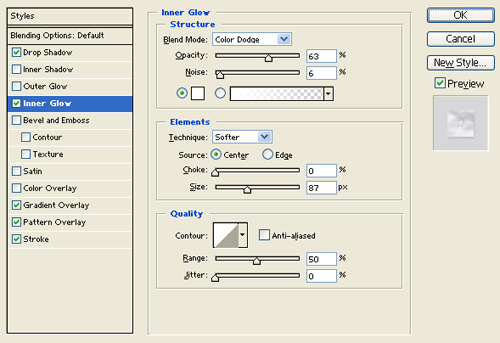
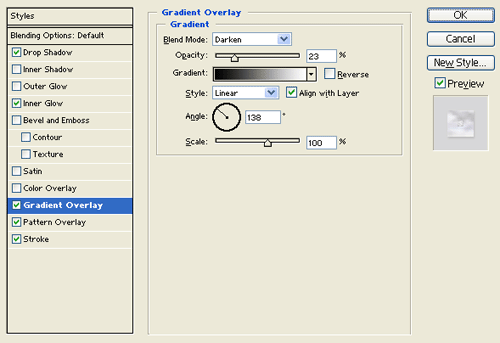
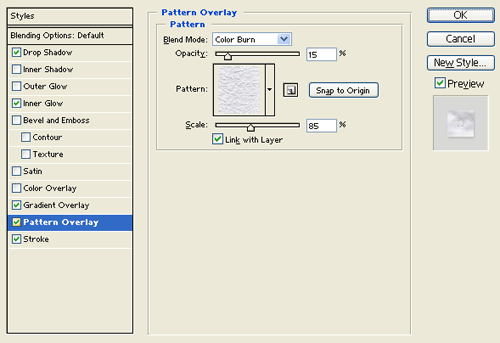
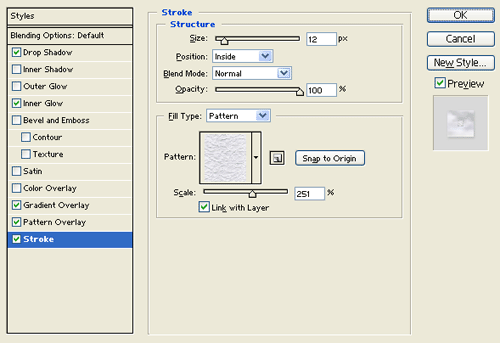
Under Layer Style(Layer > Layer Style) add a Drop Shadow, Inner Glow, Gradient Overlay, Pattern Overlay and Stroke blending options to your blue rectangle layer.
Pattern:

Result:
Step 3:
Make a new layer and merge it with the blue rectangle design layer. Then under Layer Style(Layer > Layer Style) add an Inner Glow, Satin and Stroke blending options. Now set the layer's blending mode to Darken.
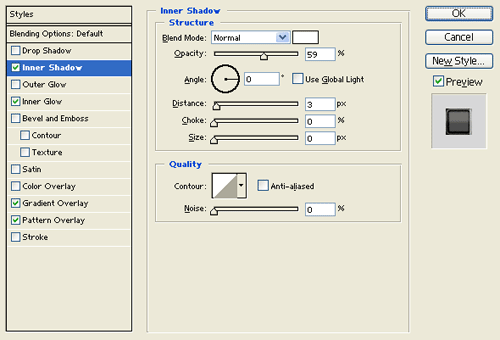
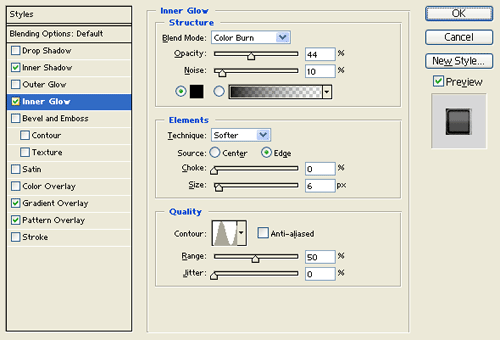
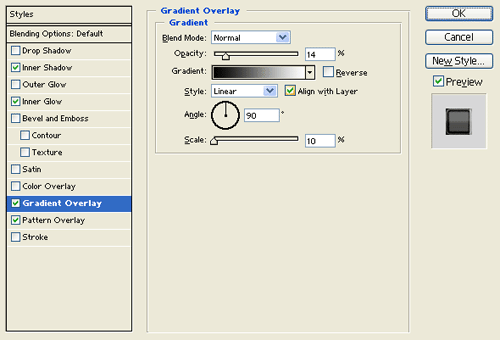
Result:
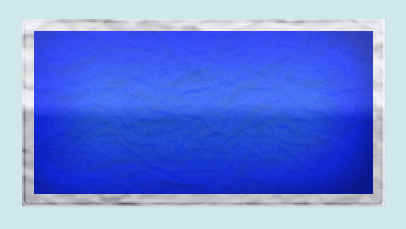
Step 4:
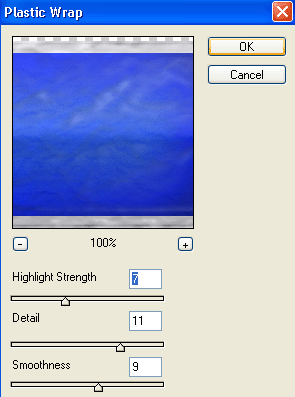
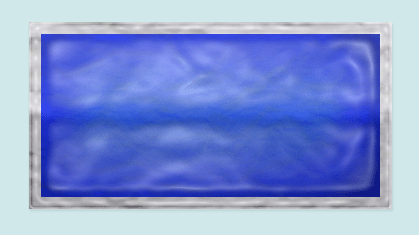
Duplicate your blue rectangle design layer from the last step and merge it with a new layer. Then go to Filter > Artistic > Plastic Wrap, use the settings below.
Result:
Step 5:
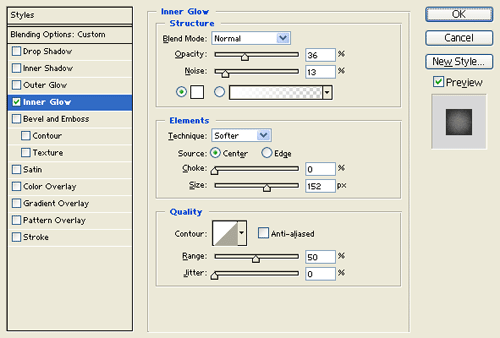
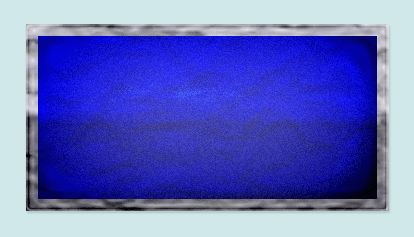
Under Layer Style(Layer > Layer Style) add an Inner Glow blending option to the plastic wrapped rectangle design. Then set the layer's blending mode to Linear Burn.
Result:
Step 6:
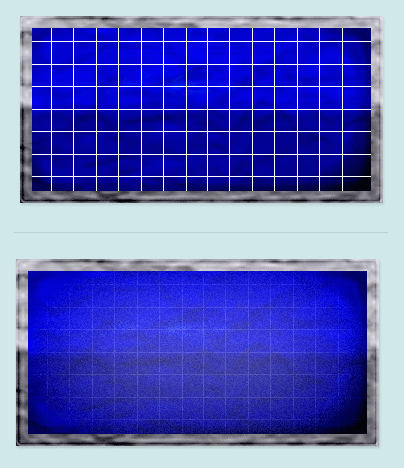
In a new layer draw the 1px white lines pattern on the blueprint sheet. Then set the layer's blending mode to Soft Light at 38% opacity level.
Step 7:
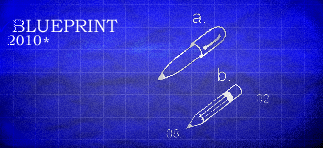
Select the Horizontal Type Tool then set the font family to Bookman Old Style, regular, 18 pt, smooth and white color shade. In a new text layer type your text on the blueprint. Then set the text layer's blending mode to Color Dodge.
Results:
Blueprint Sheet Design.
